
Why buy a surface gauge if you can do it yourself, without much strain. It will be even better than a purchased branded machine
The surface gauge is a chic machine that allows you to achieve high processing accuracy in carpentry, but quite expensive.
When in-line production, with fixed dimensions of the part, it certainly makes sense, but for a home workshop, where mainly a single exclusive is made, it is not particularly suitable.
The fact is that the thickness gauge has strict restrictions on the size of the workpiece, and this makes it impossible to process a part that exceeds these restrictions.
My device allows you to process parts of any reasonable size, with an accuracy that is not inferior to processing on a thickness gauge, and also to correct the screw of the part. Try this on a thicknesser.
We will make the device for a hand router.
There are a lot of materials on the Internet on this same issue, but only my version turned out to be the most successful of all that I saw, and therefore I decided to share it.
Many, perhaps, will say: «Well, this is the same router you need to buy.» Only after all, since there is a need for such processing, the manual milling cutter, in contrast to the planer, is, firstly, almost 10 times cheaper, secondly, it is used for a large number of operations, and thirdly, for its intended purpose, it allows you to create various curly shapes.
I have a Fiolent 1100 W milling cutter, which I am very pleased with, and the adaptation will fit any milling cutter, since the ruler is the same for all of them, or almost the same.
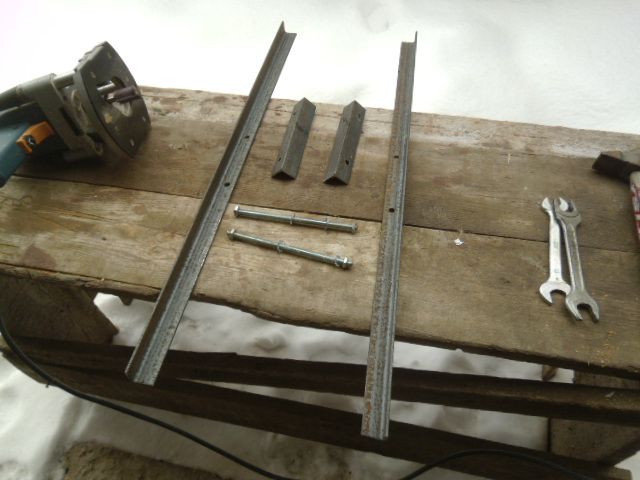
To adapt, we need:
- Metal corner 30 — ≈3 meters (depends on the desired maximum width of the processed parts)
- Metal corner 20 — 25 — ≈3 meters (depends on the maximum desired length of the workpiece)
- Hairpin М8 — 1 pcs.
- M8 nuts — 4 pcs.
- Grover M8 — 4 pcs.
- Shit from laminated plywood or side shit / door from an old wardrobe
- Another shield, or a piece of a shield, for cutting out parts of the device
The device consists of two parts
1. Skis for a router
2. Table with rails for fixing the workpiece.
Milling skis are made from a 30-ki corner and an M8 stud. We make such details from them.
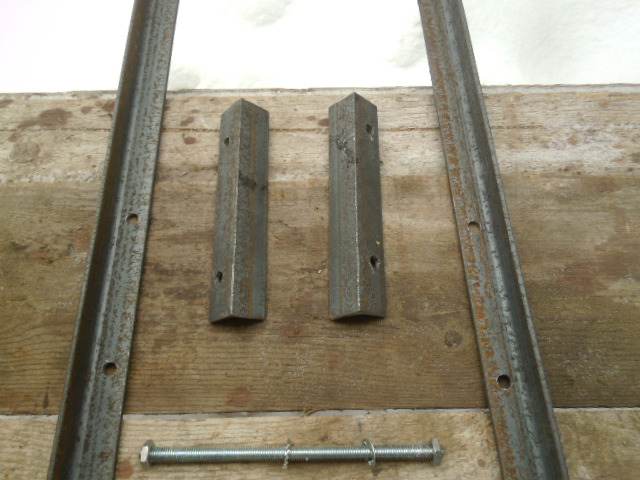
The dimensions of the parts are calculated based on the following indicators.
- Long part — the maximum desired workpiece width, multiplied by 2
- Short part — length of straight ends of router platform + ≈4 cm.
- Studs — transverse width of the router platform + ≈5 cm.
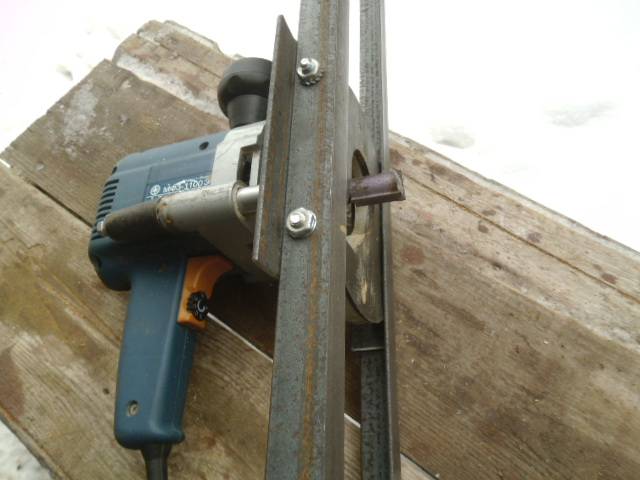
Собирается конструкция следующим образом.
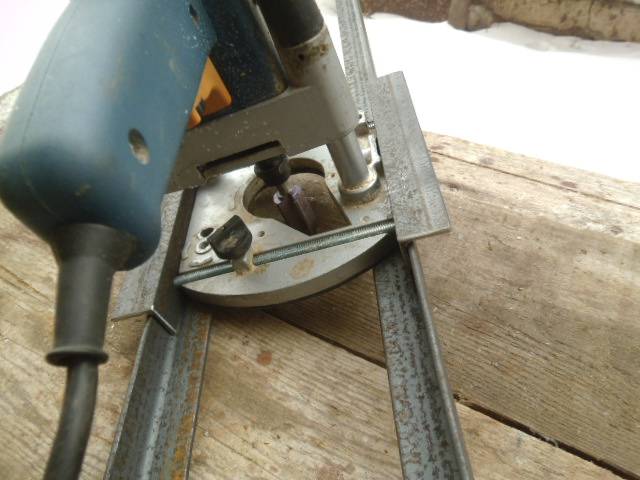
What is the short part for?
The inner surface of the corner has a slight slope. The inner part compensates for this bias.
If you attach a long part to the router platform with the outer, straight side, then you can do without a short insert, but then it is almost impossible to achieve perfect parallelism of the two skis.
And with an insert, the platform sits in a right angle created by the insert, and the skis are installed absolutely parallel.
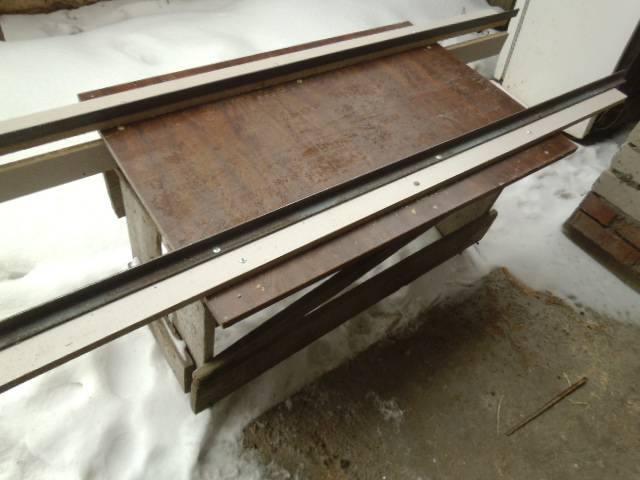
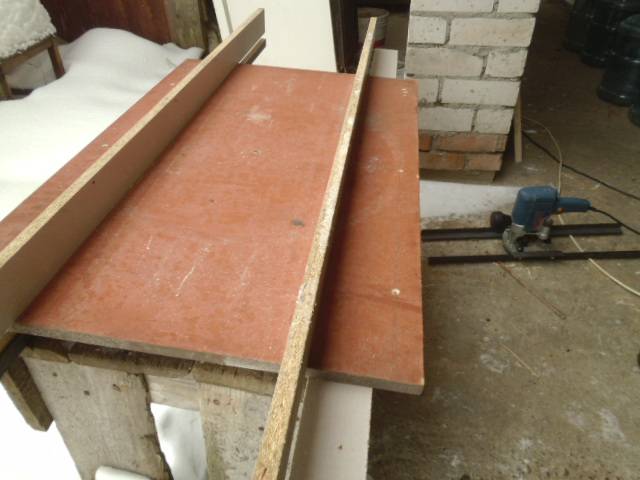
A table with rails can be made to any reasonable size. I have it, for example, 0.6 X 1 meter, but I plan to increase it in length to 2 meters, and in width to 70 cm, in order to calmly handle the width of 0.6 m.
A corner of 25 is attached to the shield, like rails. You can attach a corner on supports — it depends on the thickness of the workpiece being processed.
I made a double-sided shield. On the one hand, for processing thin parts, on the other, for processing thick parts. True, the toad strangled to buy another corner, so for now I’m rearranging it to the required side.
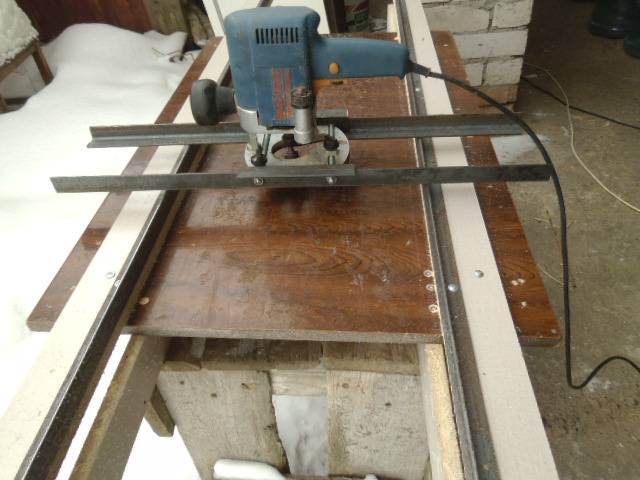
Here is the whole structure in working order.
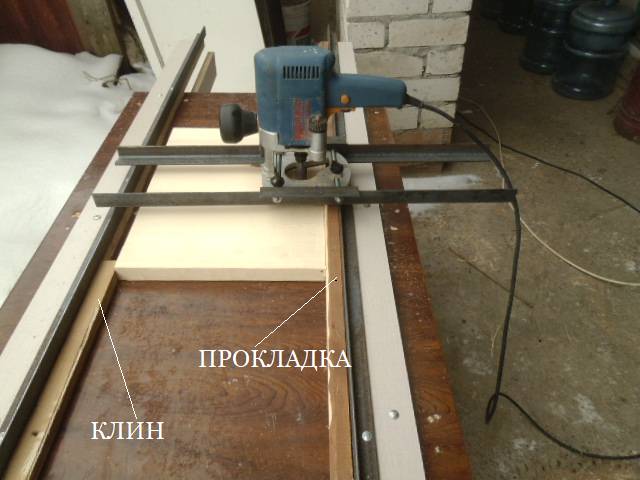
The part is secured with a spacer, which is necessary so that the workpiece is not pressed close to the rail, and two wedges on the opposite side.
The cutter works smoothly, so no special effort is needed when wedging. Tightly, but without fanaticism. When processing softwood, even one wedge is enough.
Now we adjust the processing depth and just smooth the surface. Then we turn it over and process the second surface.
For easier sliding, the contacting surfaces of the corners can be passed with a grinder, vibro, or orbital. I’m afraid she’s a Bulgarian, even with small grain.
As you probably already noticed, my cutter is from cheap, it is impossible for it to take a layer thicker than a millimeter, but even then a good result is obtained for a sander.
If you buy a more abrupt cutter, then the result will be better and faster.
This device has another great feature. It is possible to easily fix a screw part.
[seredina]
In order to fix the screw, the part is attached to the table with a hot glue gun.
One edge of the workpiece is fixed tightly to the table with hot melt glue, and along the second edge, raised with a screw, the gap formed along the edge is filled with an adhesive, which also fixes the workpiece.
Hot melt glue sets very quickly, after which the surface is leveled, then the workpiece is turned over onto the leveled surface and the second plane is processed.
The result — the screw is gone.
That’s all. I hope that now you will not have to sigh heavily: «Oh, that would be a gage».
Section Construction >>>Subsection Tools and fixtures>>>